
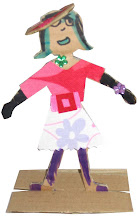
Both of my children came bouncing home with the 'great news' that they had to collect 100 things (each!) for a school project and bring them into school displayed in an interesting way. I chuckled at the school news letter that suggested putting them in a zip lock bag as a 'quick' solution to the dilemma. The children decided themselves that they wanted to paint pasta which was great because it meant we could all sit and count out the 100 pasta pieces. Then they had the task of painting it all which involved copious amounts of paint and some very messy fingers. Once dry (and children tucked up in bed) I set about the task of stringing each pasta tube onto a cardboard hat, one centurion helmet and one princess crown. Admittedly after threading the first10 tubes of painted pasta the harsh reality of the task dawned on me...I had another 190 tubes to go, arrgh! My enthusiasm waned (just a little). However two hours and one glass of white wine later I was finished. Phew. But the end result was well worth it, and of course the children loved wearing them to school the next day.
Here's some other great ideas I noticed other families had thought of ...(if ever you're in need of some inspiration for a school project like this)
1. Mount 100 twigs on a piece of round card (this looked fantastic, almost like a wicker shield)
2. Collect 100 leaves and make into a necklace
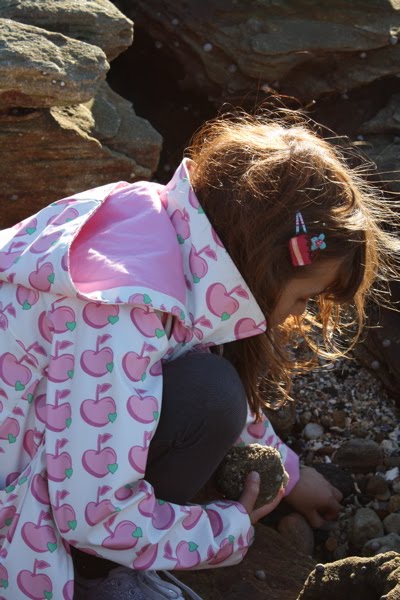
3. Collect 100 shells in a shoe box
4. Bundle 100 cotton buds in sets of 10 and display on card (you could dip them in paint too for added fun!!)
5. Collect 100 different things in sets of 10 (10 plastic spoons, 10 dry beans, 10 buttons etc)
6. Stick 100 dried beans in a pattern on some coloured paper (this also looked fantastic)


.jpg)


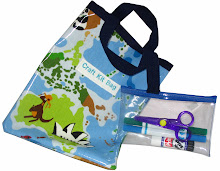
 I'm at Mosman market next Saturday (4th September). I'll be taking my newly made Heart Hair Clip Holders amongst other goodies. If you're going to be there, you can find me in the square under the tree.


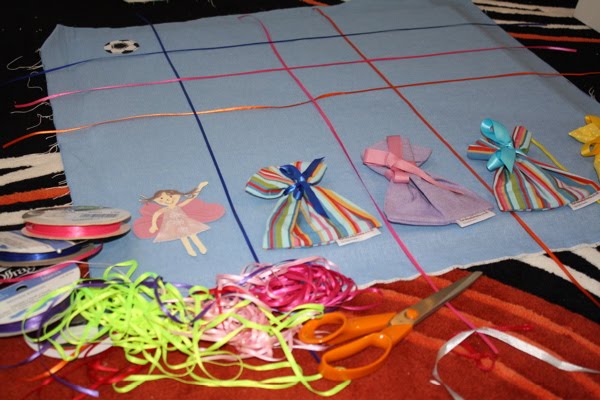 I'm in the middle of a commission for a 'Family Reward Chart' big enough to accommodate enough stars for 3 children plus one adult, so that's an amazing 48 golden stars! I love the idea of of a chart which gets the whole family involved so I've made one for our family too which includes a column each for 'Mummy' and 'Daddy'...I'll let you know how it works


 This fruit and Veggies 'Felt Story Folder' was such fun to make - I definitely got carried away with the detail. The cauliflower set the standard as it was the first item I made, so the other felt pieces had to follow suit. I was thrilled to sell the folder to a lovely mum of twin boys that I met on Colette's sewing course at the Bronte Sewing Room. It's always good when I know that my products are being used by boys as well as girls (redressing the 'gorgeous gifts for girls' versus 'plastic toys for boys' balance). As the Mum of a five year old boy myself I know they often get the short straw when it comes to handmade products, it's why I insist on making a boys version of everything I make...


